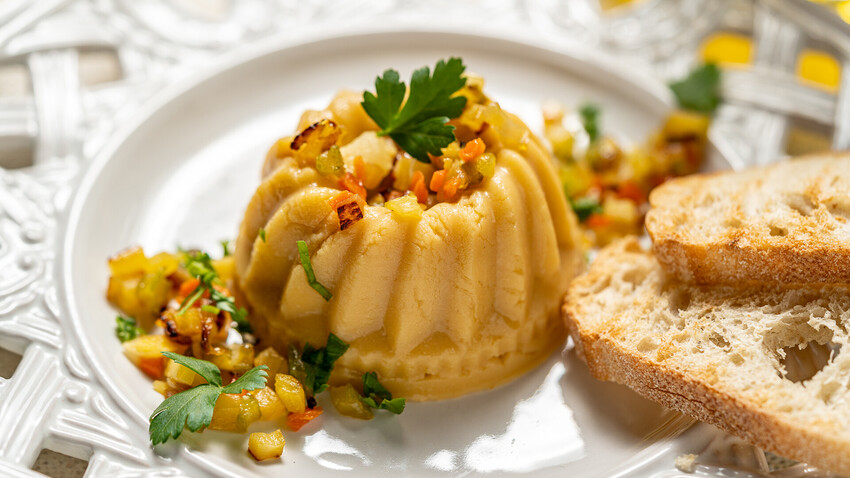
This recipe brings out the best in dried peas.
Yulia MulinoThe first written mention of peas in Russia was in the 12th century, and in the 16th century the Domostroy (a book of rules of everyday life) describes a number of dishes with peas. This clearly suggests that peas were already an important component of Russian fare.
In today's pea industry there are two main groups - whole green peas and dried split peas. Russia is one of the world leaders in production of dried peas. And it is from dried peas that “peas kolodkoy" is prepared.
Don’t be shocked by the name of this dish. It’s even unusual for the ear of a modern Russian. Kolodkoy means ‘one whole piece’. It’s interesting to learn how this dish of pea puree can stay solid or kolodkoy.
The most common way to cook peas is as a thick soup. If the peas are boiled for a long time, then you get a thick puree that is liquid when hot. But when cooled, it becomes solid because of the high starch content. These properties are used in “peas kolodkoy".
In the old days, this dish was served as a side dish to meat or fish. But peas on their own are pretty filling due to the high protein content. Therefore, our dish can be served separately. I consider it as a vegan starter/snack that is especially useful during Lent.
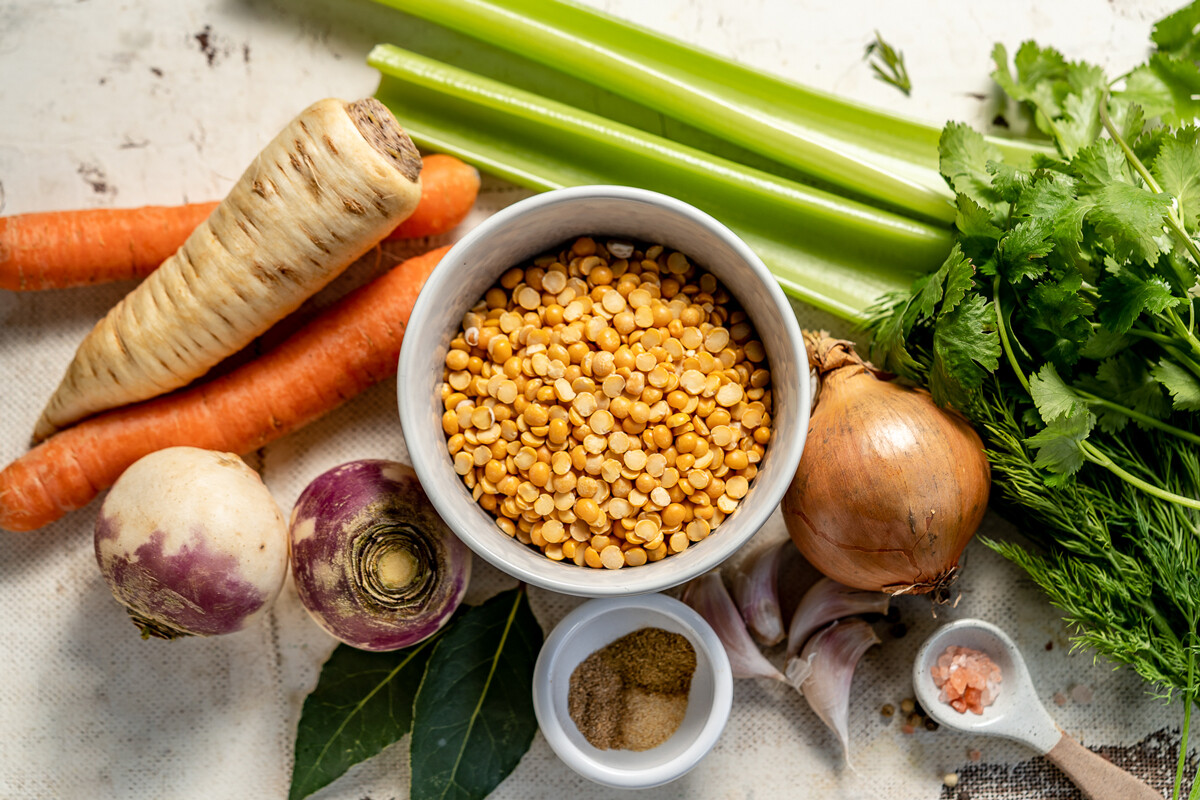
This dish is based on yellow dried peas and root vegetables. Carrots add extra sweetness and color, onions and garlic spice it up. For a richer bouquet, I added parsnip root and turnips. And for extra flavor, of course, I add spices such as bay leaf, pepper, cumin, coriander and dried garlic.
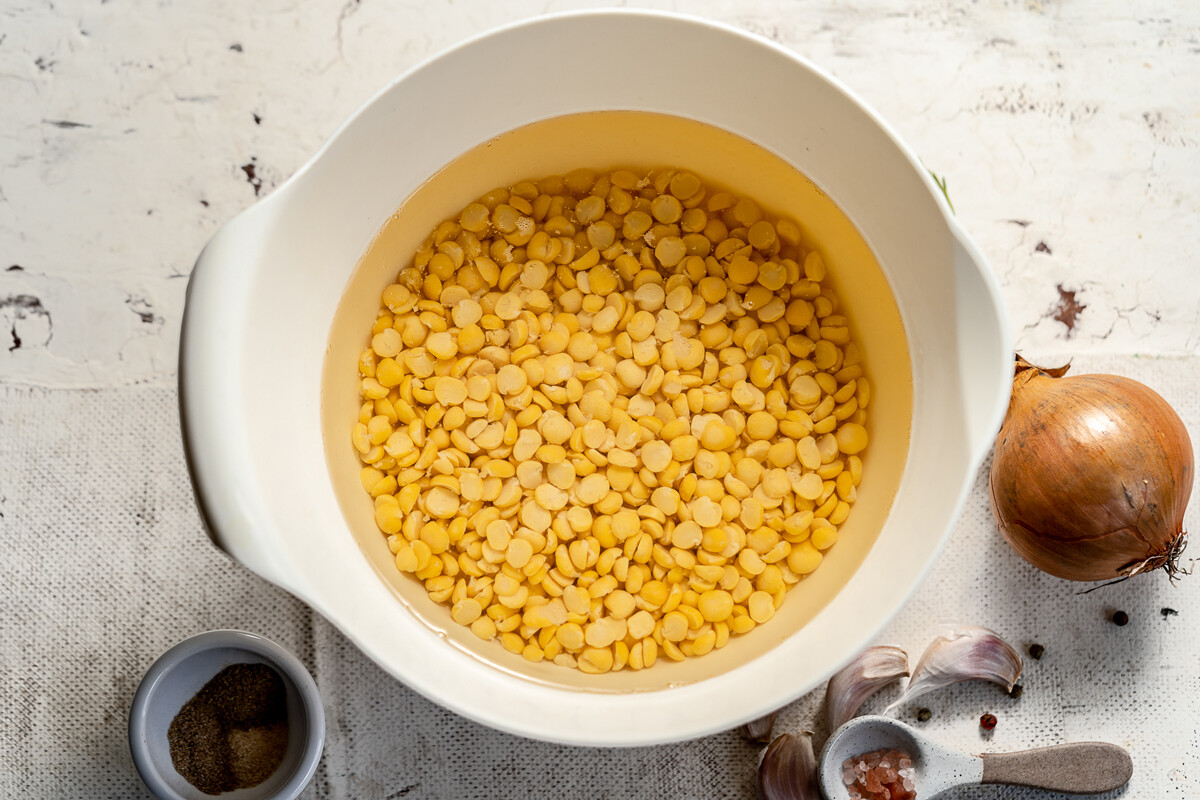
Cooking “peas kolodkoy" takes time in order to get the best result. First, the peas should be soaked in cold water for 24 hours. This is necessary to reduce the time of cooking. The water should be changed periodically while soaking.
Secondly, the boiling process itself is quite long, since we need to ensure that the peas are fully cooked. The cooking time will depend on the type of peas you use. My peas held their shape even after boiling for three hours, so I had to pulverize them with an immersion blender.
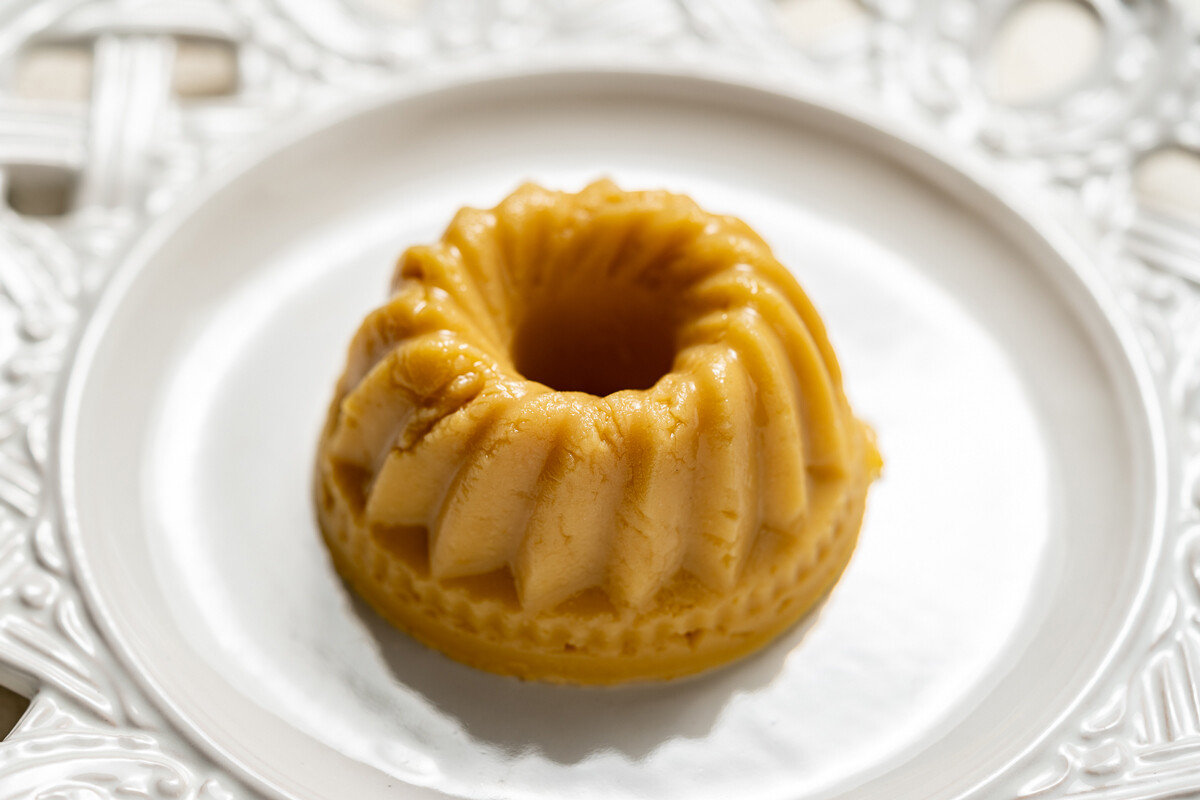
Finally, to stabilize the pea mass, place it in the refrigerator, preferably overnight. One other important moment is to use silicone molds. That way, the pea pudding will come out of them easily, without breaking.
This pea pudding contains no fat or oil. Despite the fact that it comes out with quite a creamy texture, I wanted to add some juiciness. To go with the peas, I made a roast of root vegetables in oil. You can serve the peas with croutons or bruschetta.
1. Cover the peas with cold water and leave for 24 hours. Change the water periodically. The peas will swell.
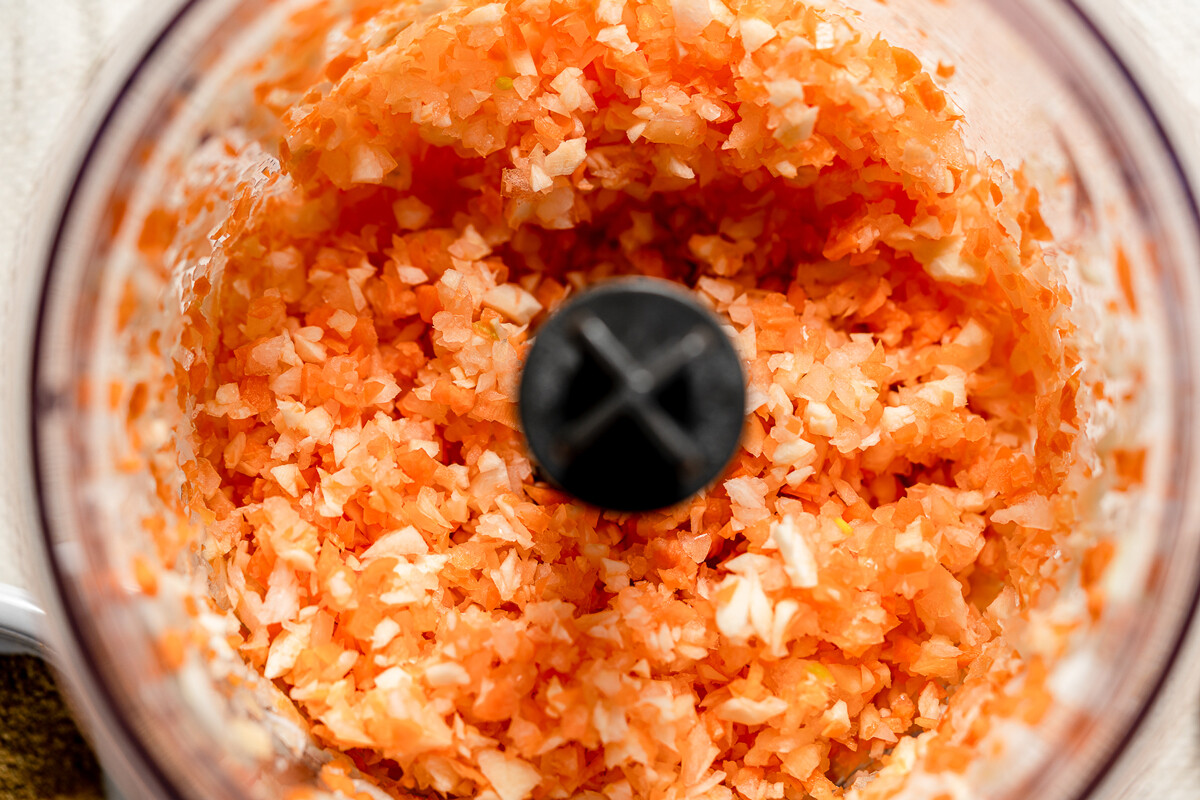
2. After 24 hours, chop 1/3 of the carrots, 1/3 of the onions, 1/3 of the parsnips, 1/2 of the turnips, and a garlic clove in a blender.
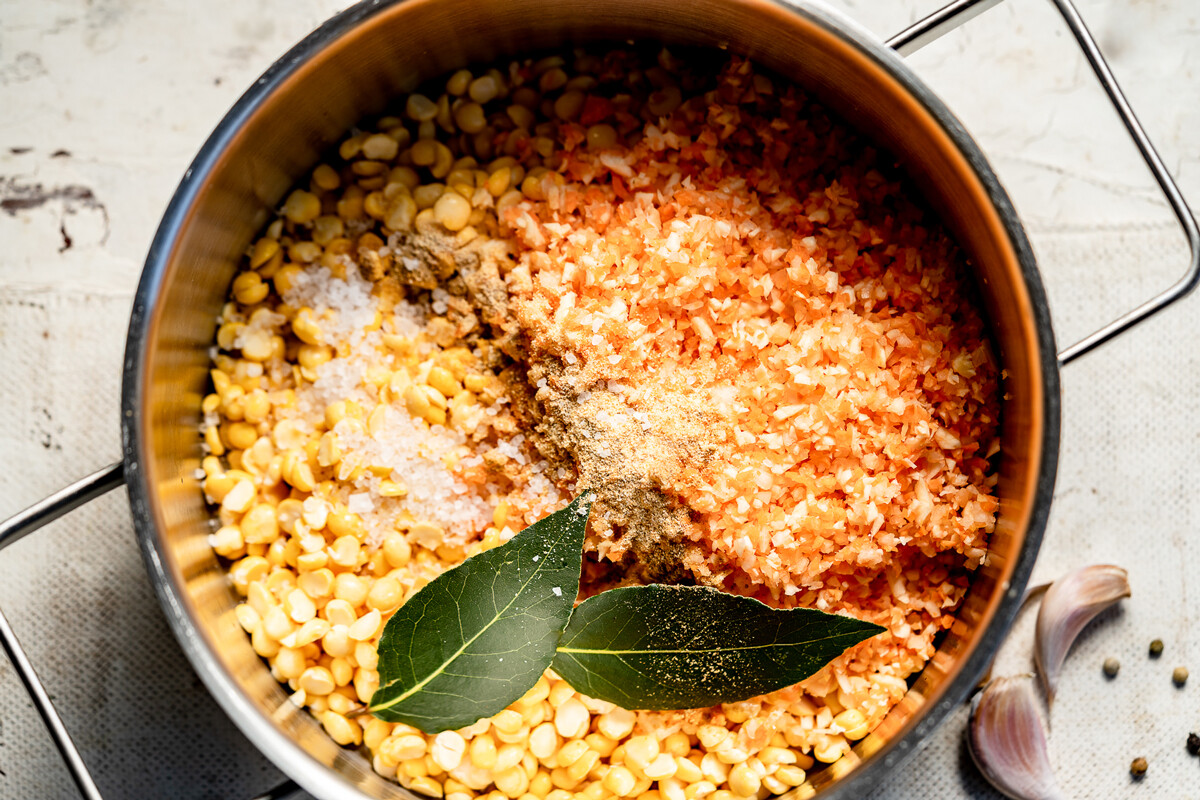
3. Place the vegetables with the swollen peas in cold water (just over a liter), add salt, pepper, bay leaf and other spices.
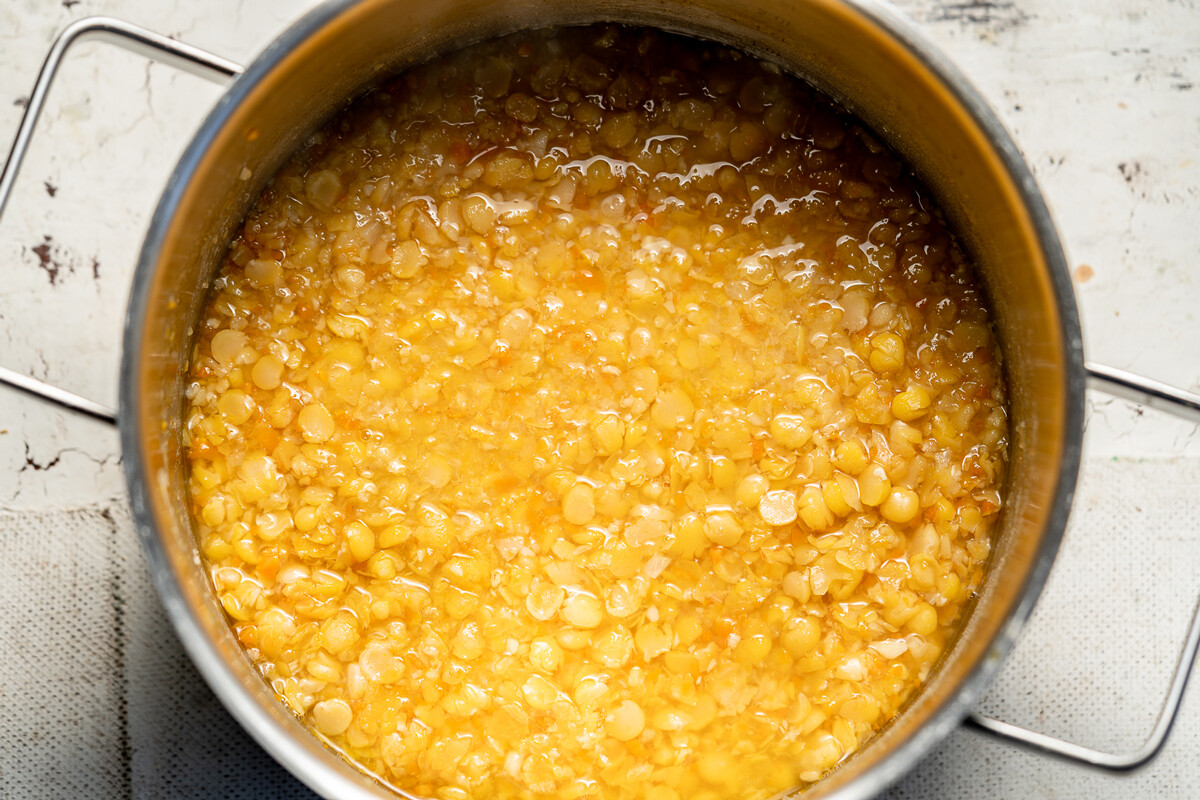
4. Cook under a closed lid until the peas soften on low heat. It took me three hours; maybe less, depending on the type and processing of the peas. Keep an eye on the water so that the peas don't burn. If, on the contrary, there is a lot of broth left, then remove the excess liquid with a ladle.
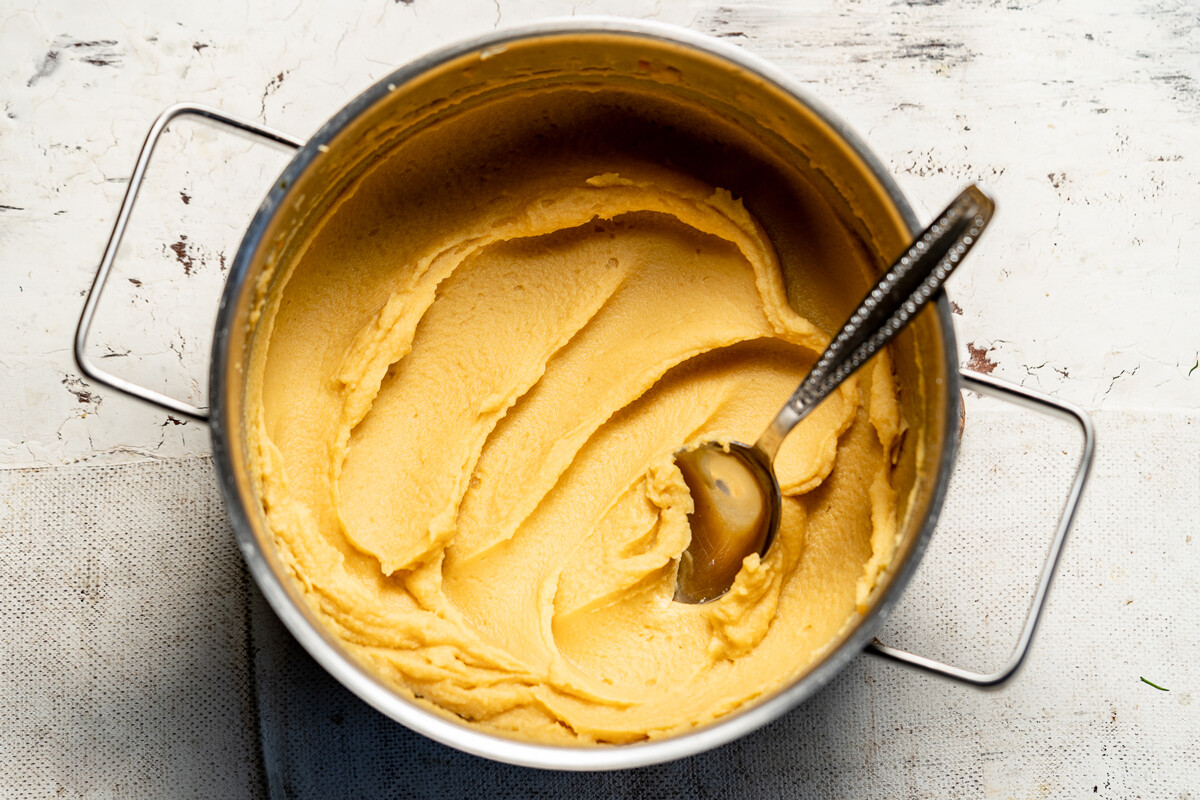
5. Make a purée with the peas using an immersion blender until smooth.
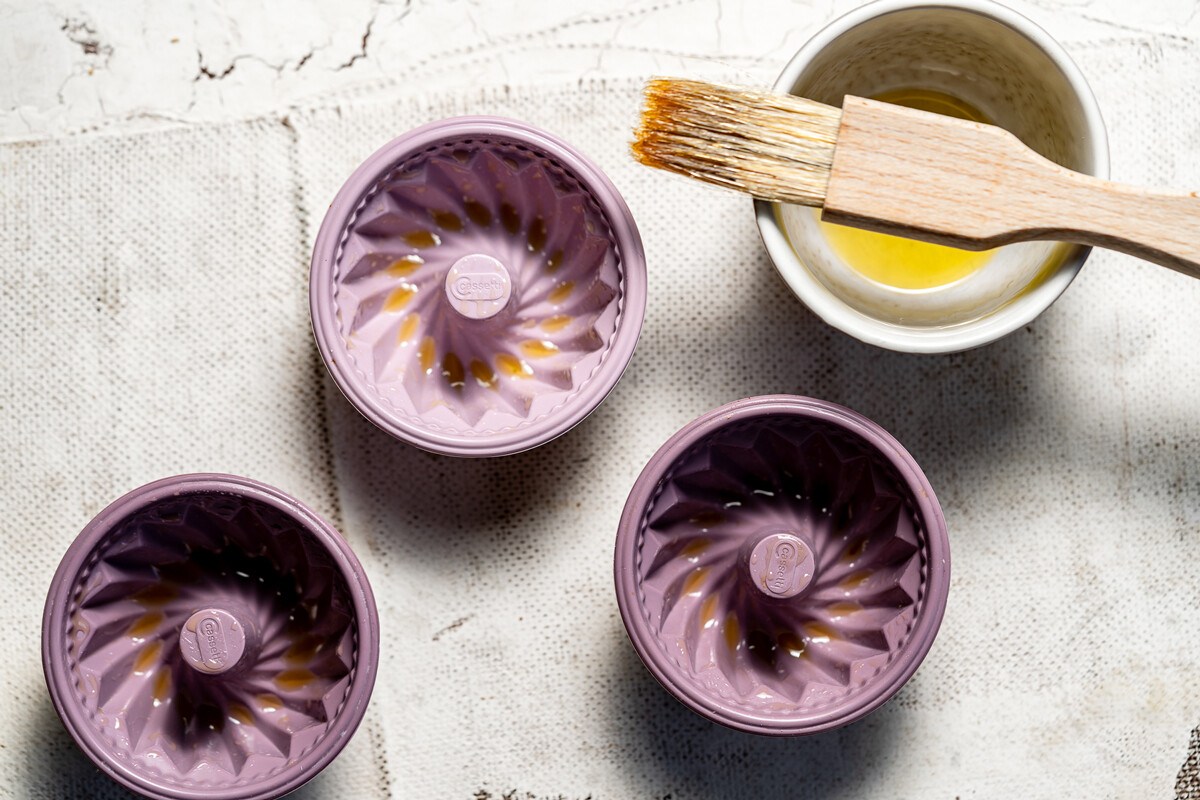
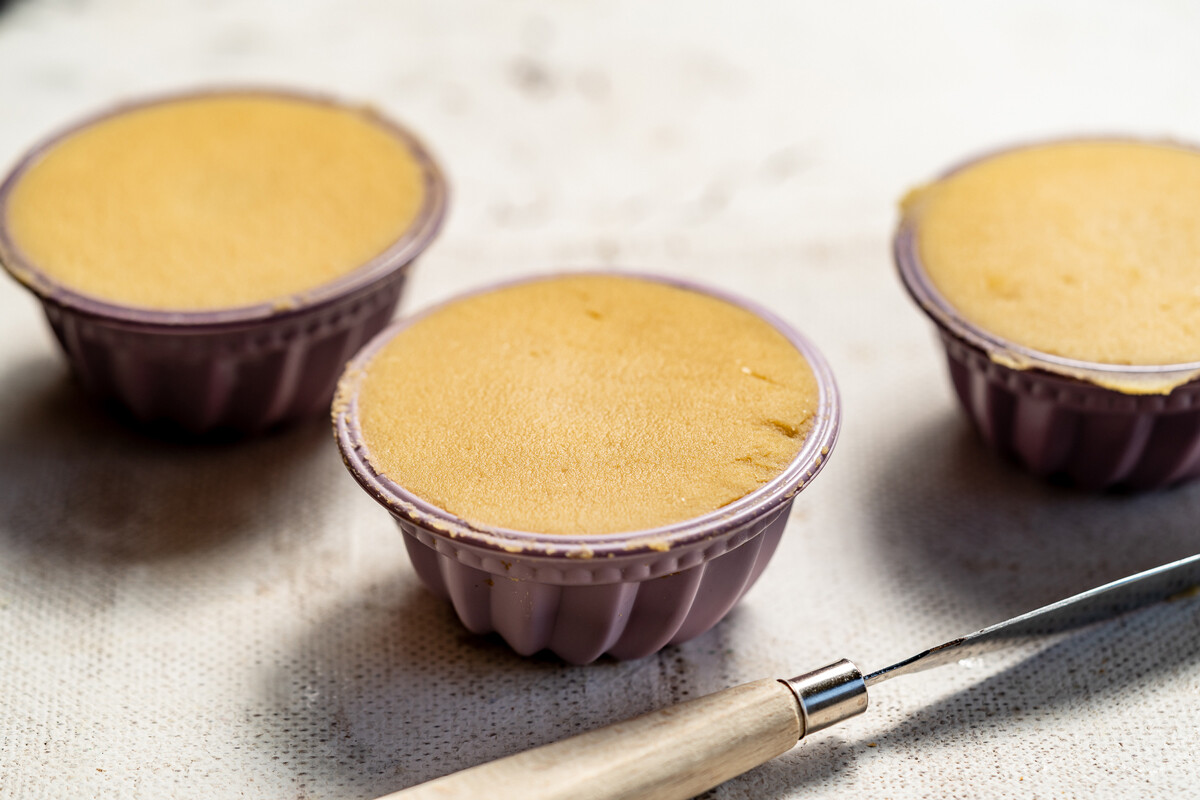
6. Grease the molds with oil so that the peas don't stick to the sides.
7. Spread the warm mashed peas into the molds. Press down well so that there’s no air left at the bottom. When the mashed potatoes have cooled, place the molds in the refrigerator overnight.
8. Finely dice the rest of the vegetables.
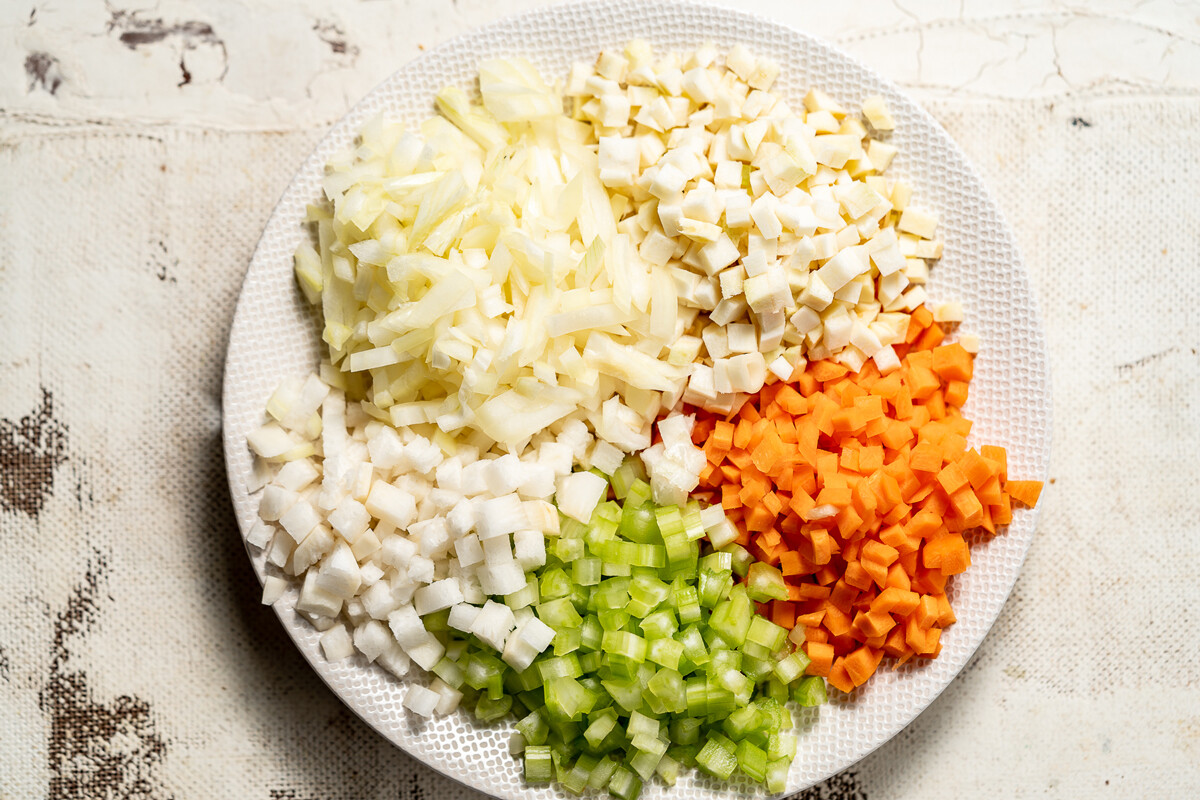
9. Salt them and fry in olive oil until soft. This will be the dressing when you serve it.

10. Invert the molds carefully, directly onto the plate in which you’re going to serve the dish.
11. Add vegetables, herbs and croutons of white or black bread.

Dear readers,
Our website and social media accounts are under threat of being restricted or banned, due to the current circumstances. So, to keep up with our latest content, simply do the following:
Subscribe to our Telegram channels: Russia Beyond and The Russian Kitchen
Subscribe to our weekly email newsletter
Enable push notifications on our website
Install a VPN service on your computer and/or phone to have access to our website, even if it is blocked in your country
If using any of Russia Beyond's content, partly or in full, always provide an active hyperlink to the original material.
Subscribe
to our newsletter!
Get the week's best stories straight to your inbox

