Back to school: Cafeteria-style cutlets and mashed potatoes
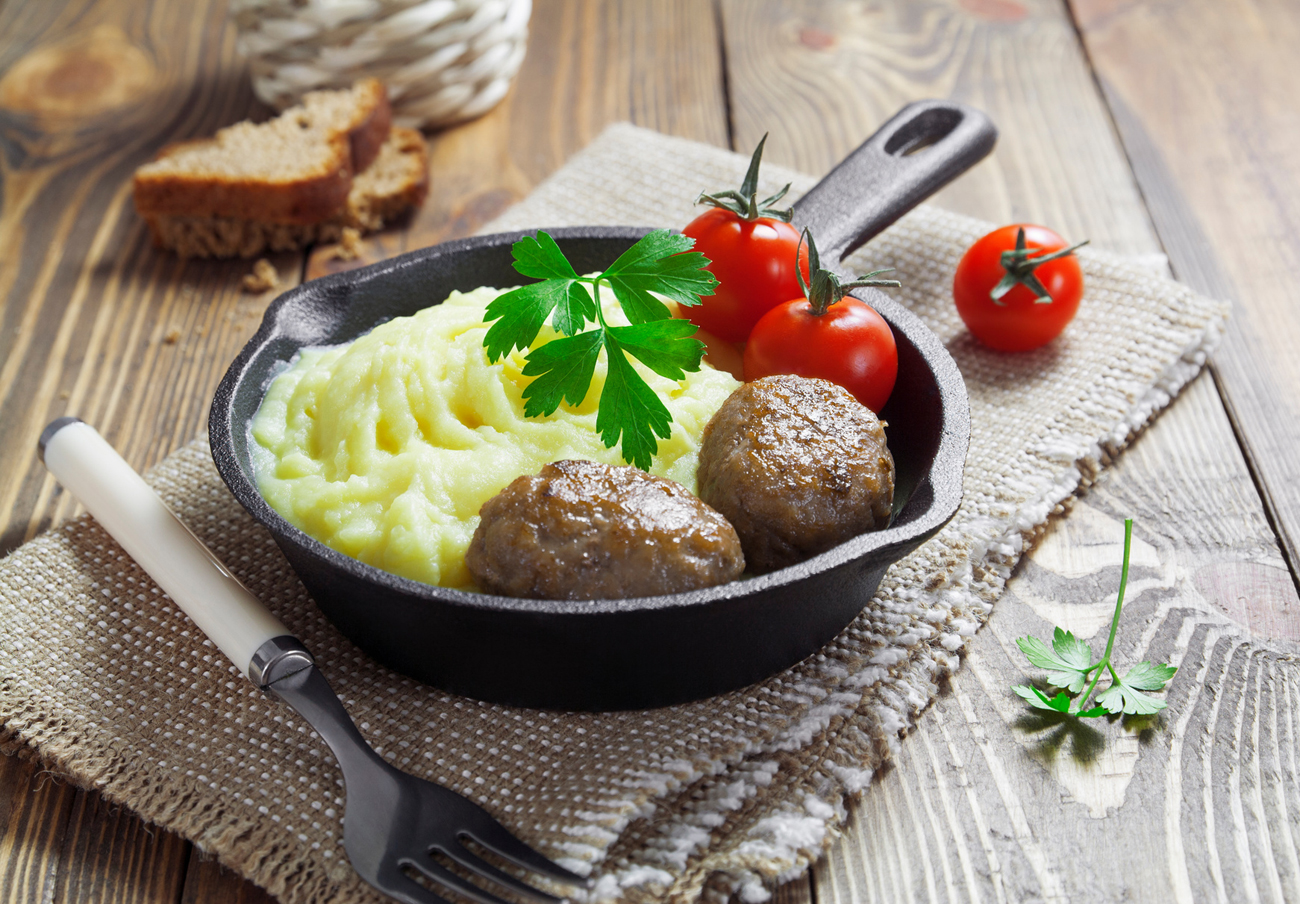
Try this recipe for a tasty traditional Soviet lunch!
Lori / Legion-MediaCafeteria food has played an important role in Russian life since the Soviet era, when the idea of serving people en masse at schools and workplaces began.
Starting in preschool, kids learned that mornings would be marked by the “second breakfast” served at school — semolina porridge (inevitably with lumps), square “omelettes” and juice made from dried fruit.
During the school years, lunch started after the third lesson. Generally, cafeterias had enough seating for one class at once — between 20-30 kids. Filled pastries were typically the favorite dish, while fish cutlets were best avoided. Classes typically took turns setting places and clearing dishes. Older students could get a pass from lessons and homework — and earn bigger portions — by taking on extra cafeteria duties.Soviet university students were happy to eat almost anything in the cafeteria, as long as they had the money to buy it. A popular joke from those days went:
Student A: “Give us two sausages, please!”
Student B: “Wow, you’re living it up!”
Student A: “And 16 forks!”
Cafeterias at offices and factories often offered dishes similar to those from the school days. Everything was prepared according to the All-Union State Standards: borscht, pasta and cabbage salad. The food was filling and cheap and easy to prepare in bulk.Today Soviet-style cafes are popular in Russia, even though most schools and offices still have cafeterias that would hardly be out of place in the USSR. For those who want to take a walk down memory lane while dining out in Moscow, “Stolovaya №57” at GUM is a popular choice among Russians and foreigners alike. In St. Petersburg, the “Stolovaya №1” chain serves up cheap, tasty food in cafes designed to look like factory cafeterias.
Cafeteria food is also easy to prepare at home. Head back to the USSR with this traditional favorite: cutlets with mashed potatoes.
Meat cutlets
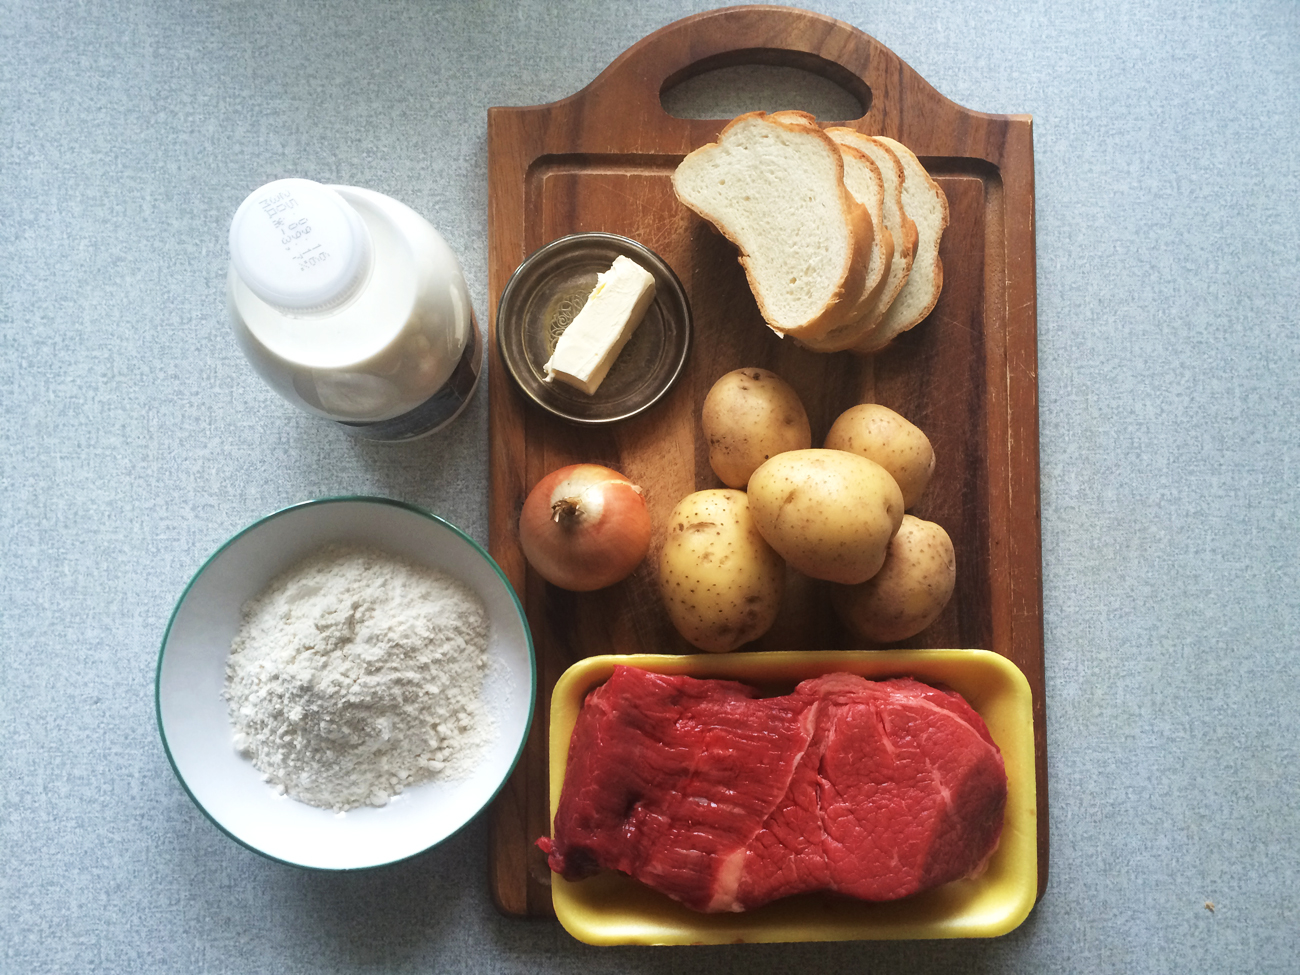
Ingredients:
- 600 g (about 1 lb) meat (beef/a combination of beef and pork/chicken/fish)
- 150 g (1-2 slices) bread
- 100 mL milk
- 1 onion
- 1 egg
- Salt and pepper to taste
For the bread, it’s best to use bread that is two or three days old. Fresh bread can make the cutlets sticky. Whole wheat bread is also better than white, since white bread can make the cutlets crumbly. Make sure that the bread is not more than 20 percent of the mince.
How to make it:
 Credits: Daria Sokolova
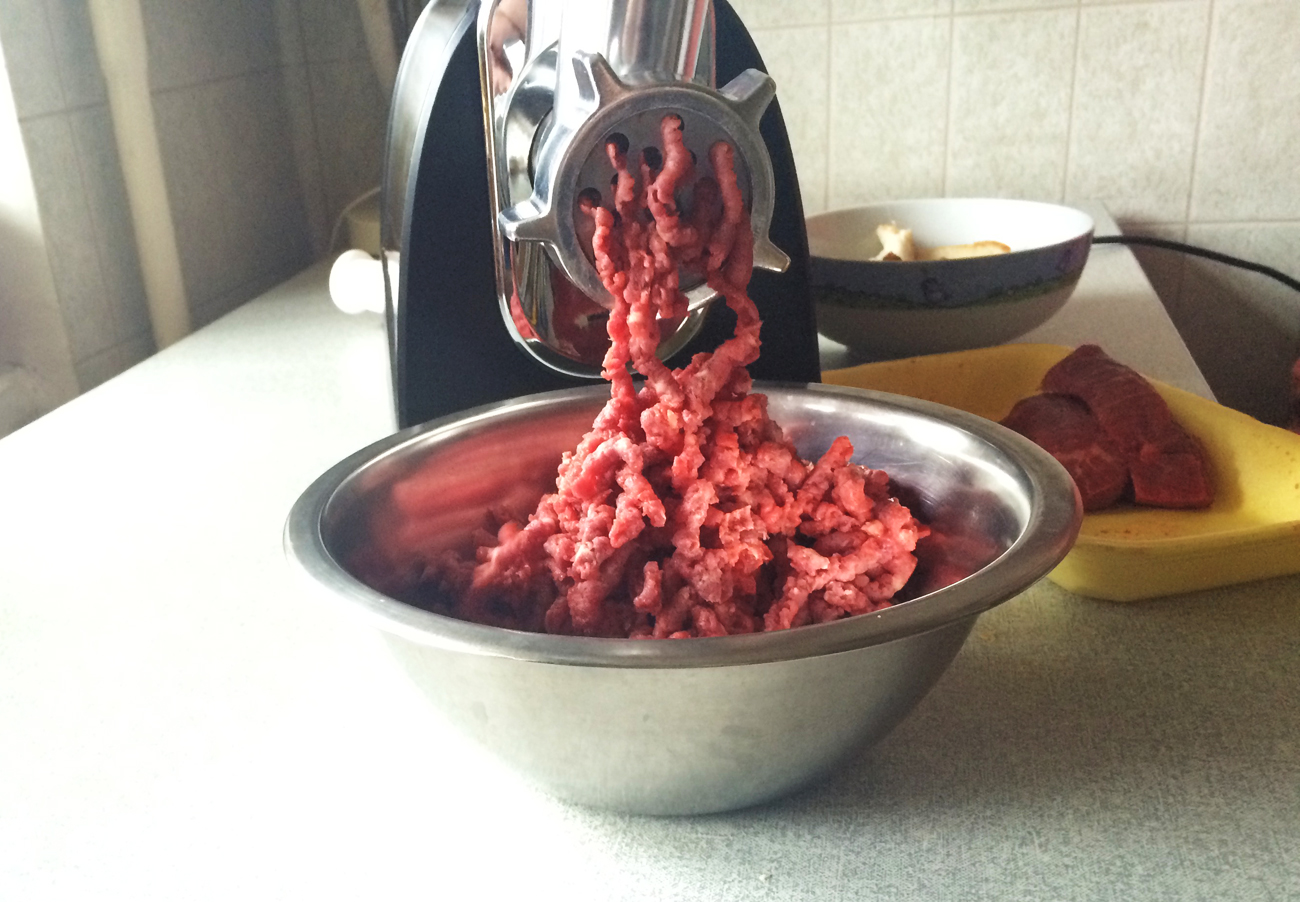
1. Slice the beef. Soak the bread in a glass of milk. Mince the beef with a mincer.
 Credits: Daria Sokolova
2. Dice the onion and bread. Mince the beef for the second time adding the onion and bread.
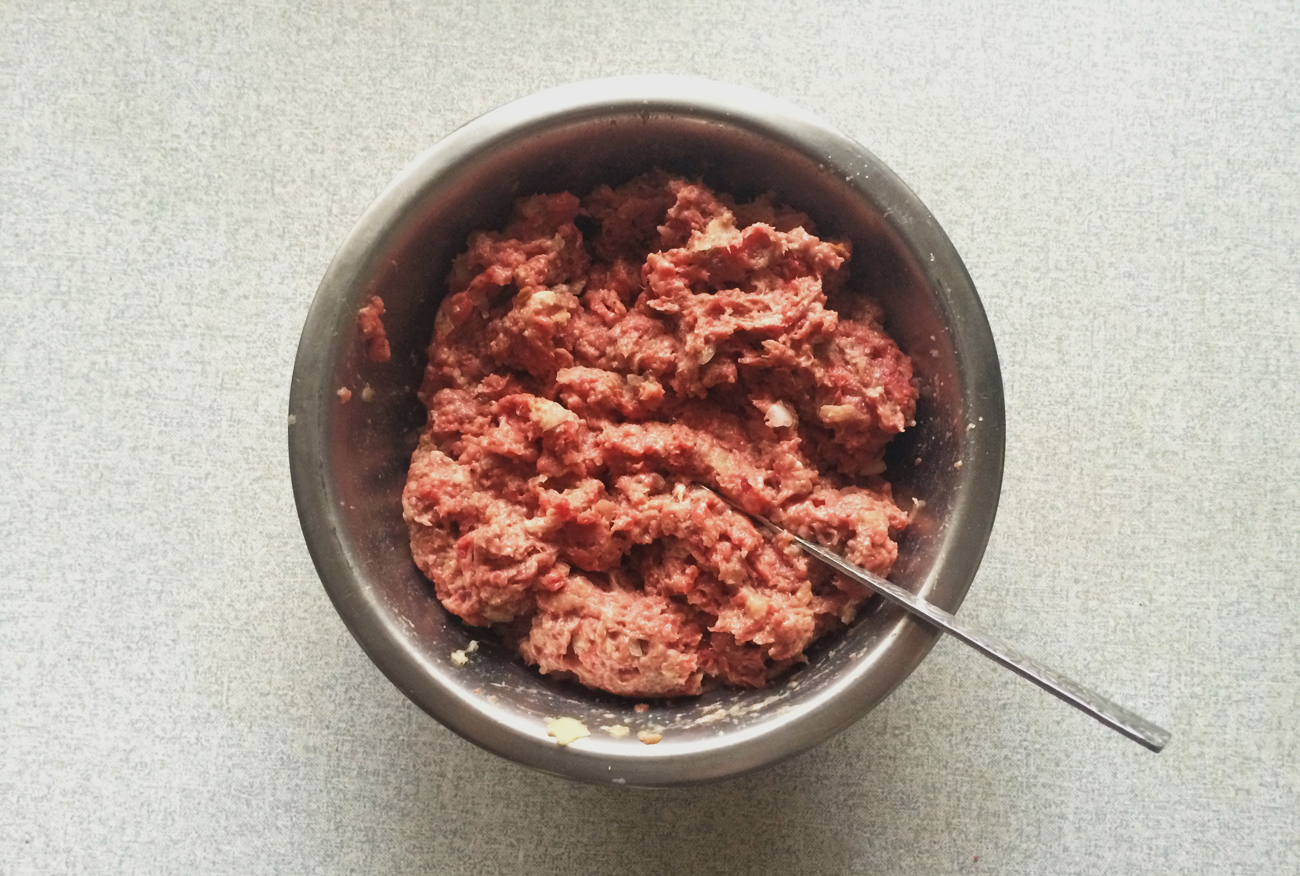
3. Add 1 egg, 1/2 glass of ice water and knead the mince.
 Credits: Daria Sokolova
The mince can be made juicier by “smashing” it: take it and throw against a table or into a deep plate several times. It will not stick to your hands if you wet it with cold water. At this stage, the mince can be left for 1-2 hours in the refrigerator, although that isn’t necessary.
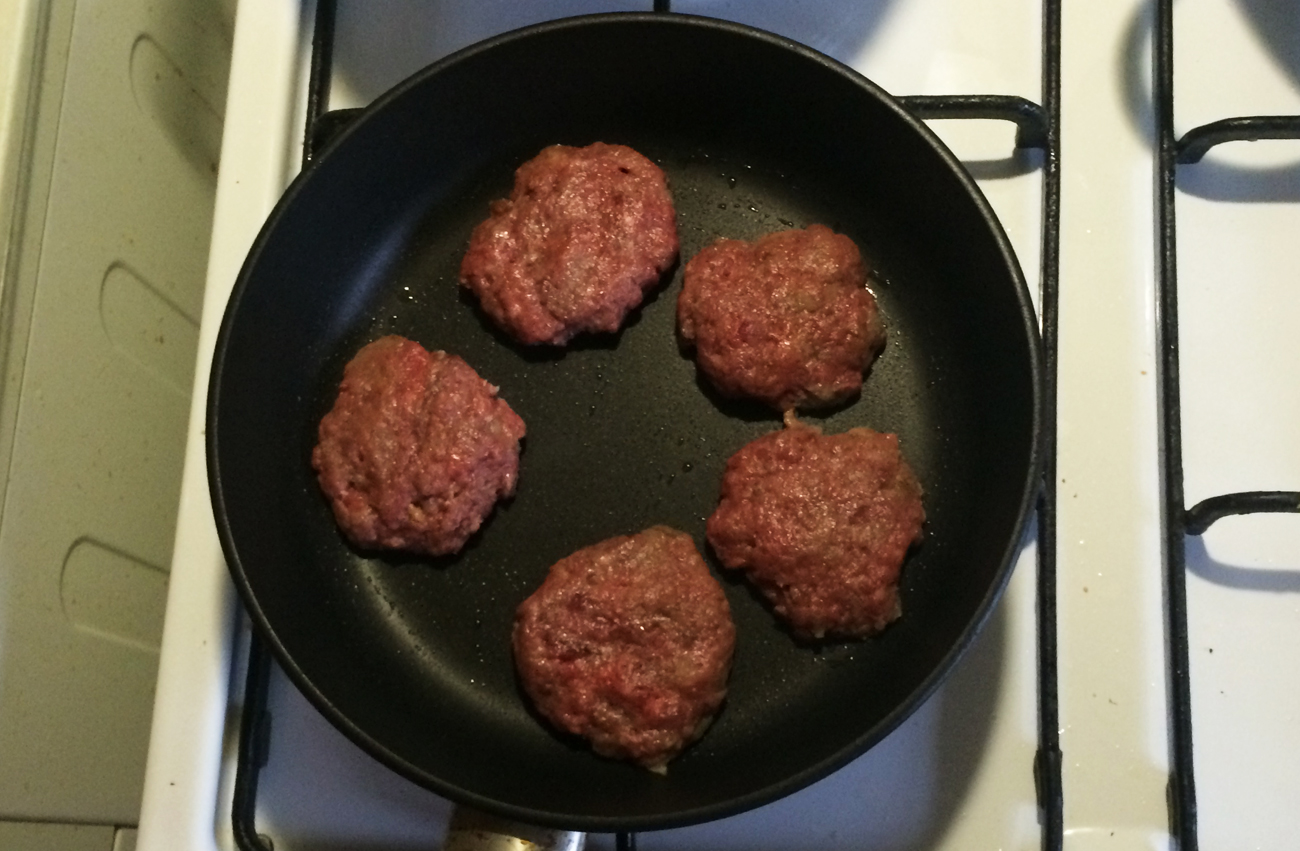
4. Form the mince into cutlets 2-3 сm (1-1-½ inches) thick. You can cover the cutlets with crumbs, or freeze them to use later.
 Credits: Daria Sokolova
5. Fry on both sides in a preheated pan with a small amount of oil for 10 minutes or until ready. They can also be baked in a oven at 200 Celsius (390 Farenheit) for about 20 minutes.
Mashed potatoes
Ingredients:
- 1 kg (2.2 lbs) potatoes
- 1 cup milk
- 50 g (2 Tbsp) butter
2. When the pieces becomes soft (after 10-30 minutes), remove potatoes from heat. Pour out the water, leaving a small amount at the bottom of the pot.
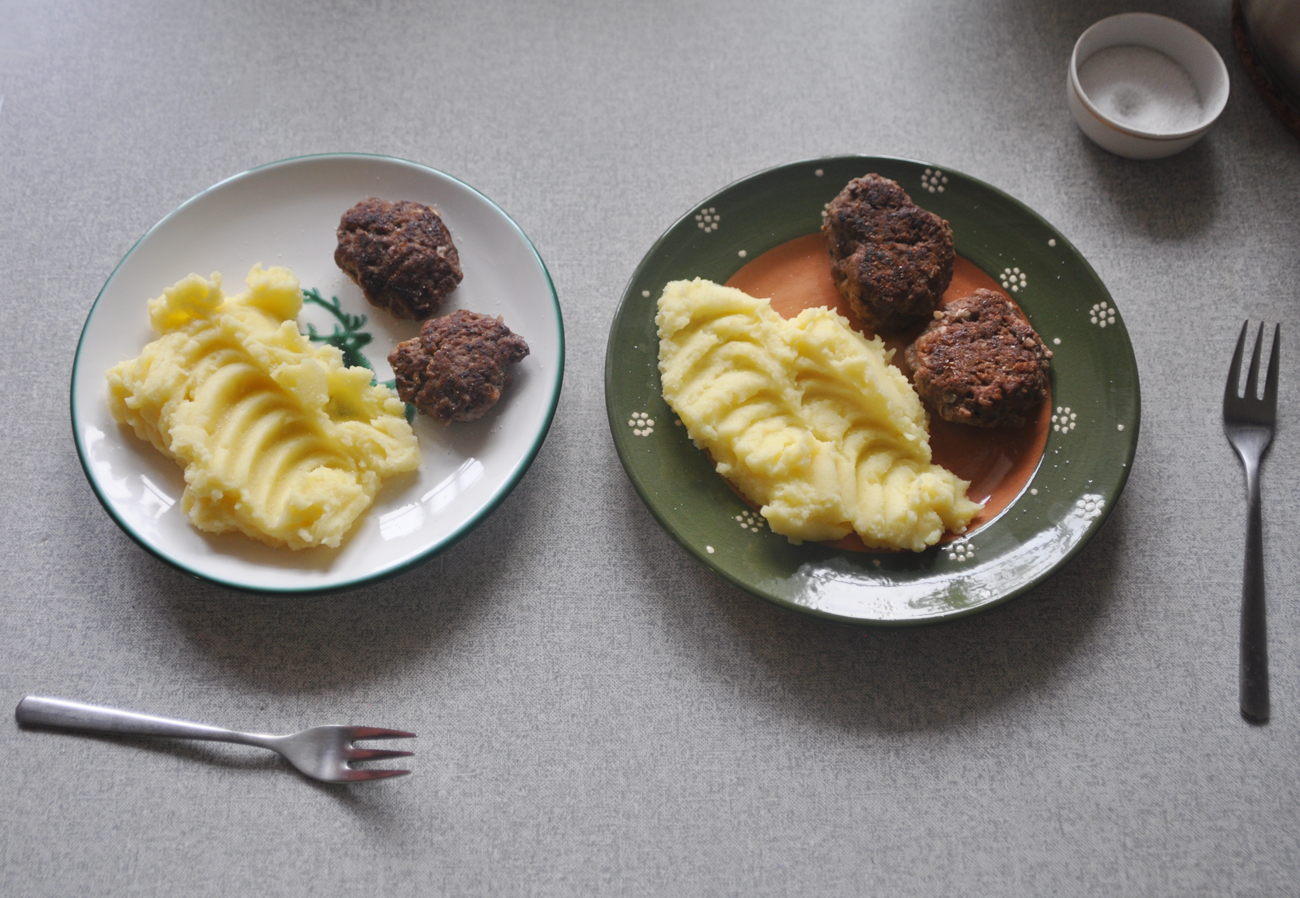
3. Mash until smooth. Add butter and milk. Mix well.
 Credits: Daria Sokolova
Serve cutlets and mashed potatoes hot.
All rights reserved by Rossiyskaya Gazeta.
Subscribe
to our newsletter!
Get the week's best stories straight to your inbox
.jpg)
